How to create Professional or Business Email Address with Microsoft Office 365
Duration to complete: Less than 5 minutes.

Step1: Own a domain name from Freenom.com. For this blog, I created ajeymegamart.ga domain using with I will create my business Email address like [email protected].

Step 3: Fill out the form. Make sure at this step while adding your business domain, don’t add your actual domain name else it will be stuck with this particular tenant you are going to create and cannot be removed if you want to use it by creating a new tenant after this. Add your domain name in the form like domain123 e.g., ajeymegamart123 
Step 4: After completing the form we will get the first Global Administrator (who has all the rights to administer the tenant) i.e., [email protected]

Step 5: Now at this step we will enter our actual domain name i.e., ajeymegamart.ga 
Step 6: Microsoft will ask us to prove that we own this domain ajeymegamart.ga, so for that, it provides us a Dummy TXT Record to add in our Domain Registrar DNS i.e., Freenom.com 

Step 8: Enter the users of your Organization or Business who require the Business Email Addresses to communicate with the clients.

Step 9: After you entered the users, Microsoft will finally provide the real DNS records which will help your domain to get Office 365 Services. Add these in the DNS Section of Domain Registrar.

Step 10: The Initial Configuration of your Tenant is completed. Now click on Go To Admin Center.

Step 11: We created the tenant using [email protected]. Now we will log out from this user and login with our user having an actual Email address associated with our business domain name. However, before logging out I will ensure that I must reset that user’s password manually and assign him Global Administrator Rights.
Step 12: We will log out and log in with our real email address i.e., [email protected]
Step 13: We will try to send a test email from Gmail to our business email address.
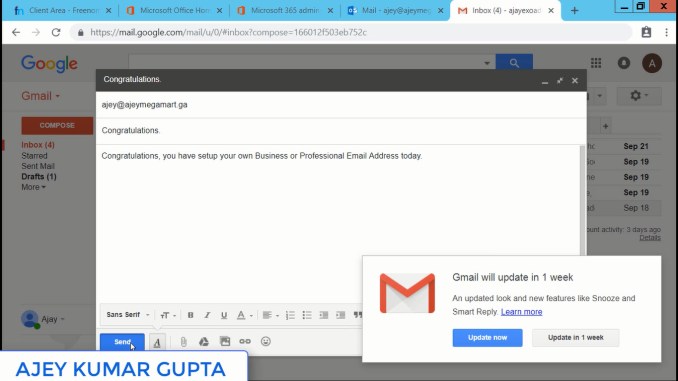
Step 14: Congratulations Friends, we have successfully received an email from Gmail. Now anybody in this world, maybe our business client or our partner can send us an email on our business Email Address [email protected]
You can share this Email address or get it printed on your Card and it will give a professional look to your profile.
Friends, if we send or receive Emails using our Business Email Address instead of gmail or hotmail, we promote our Business Domain along with our Website. In today’s world, your clients expect that you should have a website where they can find more about you and can communicate on your Business Email Address.
To get real experience on all the steps, I am including the live demonstration in the video below. I hope it will give you a crystal clear understanding of all the steps:
Thanks a ton for reading my blog. If you have any queries or doubts regarding the steps performed or in the configuration, do post your comments below and I will try to revert asap.
Ajey Kumar Gupta (Microsoft Exchange Admin) Next Blog: How to create Premium LinkedInLearning Account Genuinely
Subscribe Us

D-Link DSL 2730U Convert to WAN Ethernet Router

